
|
Ok, I found one. Now what?
This page is recomended for newcomers. |
Introduction[]
Welcome to our Run Wiki's walkthrough guide for the game Run 3. This guide will seek to assist you through the story and gameplay of the levels, from the start in Level 1 to the later levels like Plan A, part 16 and Level N-9. But if you want specific level guides, try searching the levels up.This is the Early-Game Guide, which specializes in the beginning of the game, starting out and learning about the game.
With a system of completely new game mechanics, this particular game in the Run series can let you check your progress in game through the Galaxy Map, and can let you skip to levels you have beaten before. With the existence of minigames and cutscenes, Run 3 is definitely the most challenging and unique game in the Run trilogy, hence the guides.

|
Spoiler Alert
This section is best consumed if you're absolutely stumped and don't mind free information. What follows is a plot-heavy slate of background information and other major details, so proceed with caution. |
Early Gameplay[]
Start of the game[]
When you first enter the game, you will reach the Main Menu. Inside the menu, there will be only one button for you to choose at first. That button has the word "Play" on it. Press it to start the game!
Main Tunnel Guide[]
Early gameplay in Main Tunnel[]
 |
Skipping Tutorial Levels
Actually, did you know that if you watch the credits, you can skip the tutorial levels (The first three levels)? This is useful if you want to start your game early and quick. How to watch the credits? Just press the round button with "i" in the middle, and there you go! After watching the credits, the whole menu screen will be unlocked, and when you click to the Galaxy Map, you can skip to Level 4. |
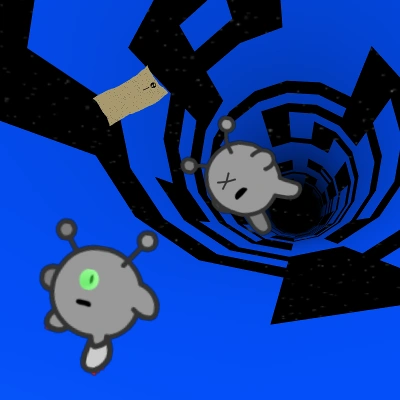
You will find yourself as a grey alien in a blue tunnel, which is shaped like a square. This is actually Level 1 in the game! Suddenly, you will hit a barrier in front of you, and a tutorial for the controls. In the screen, it told you not to enter the tunnel, but of course, you will ignore it!
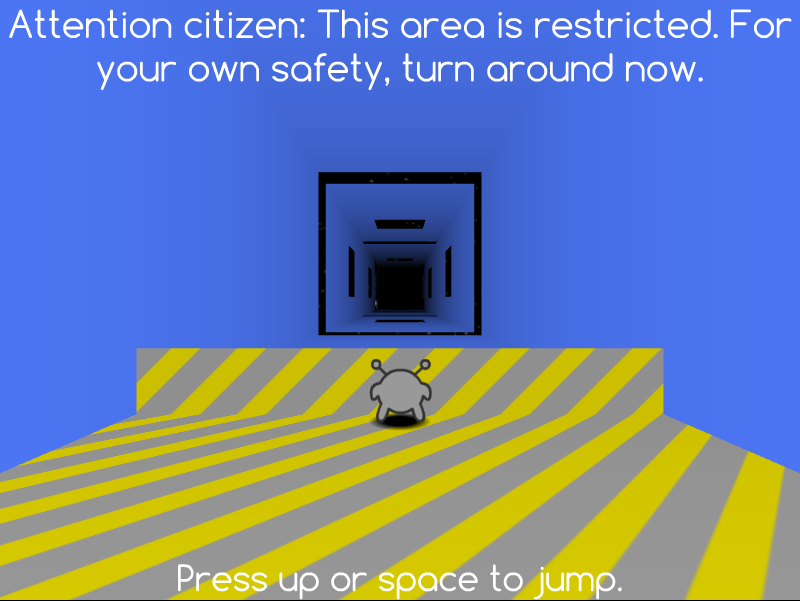
Jump by pressing the Up arrow, space, comma, Z, X or W. The longer you hold it, the higher you jump.
You will then find yourself jumping high in the air! Use this to your advantage and maneuver along the gaps and holes of this level. Also, you will then find out if you touch the wall, you can walk on it, letting you avoid some of the gaps and holes in the tunnel.
After you jump across some holes and gaps, you will soon find out that there is a large patch of area without gaps. And even stranger, there will be a word "Level 2" popping out in the middle of the screen. Congrats! You just beat the first level in Run 3.
Keep up the good work and progress to Level 2.
After you reach Level 2, there will be more options added to the pause screen. First, there will be left and right arrows with the words "Previous" and "Next". In case you couldn't guess what those do, those instantly take you to the previous or next level. Also, there will be a map with the word "Map" under it.That takes you to the hub screen. Click it and you'll see a planet with some dots to the right of it. All the levels on the map are represented by dots. Click on one of the dots and it will take you to that level. And if you think you have to count the dots to know where the level you want to go to is, you're wrong. When your mouse goes on a certain dot, the game will tell you which level it is.
Level 2 introduces moving sideways and changing gravity by forcing you to do so. You can use the A key, the Q key, or the left arrow to move left, and the D key, E key, or the right arrow to move right. When you touch a wall, you might notice that your gravity has switched.
Crumbling tiles[]
When you progressed to Level 3, you will discover something strange. There are grey-colored tiles, and with cracks on them. Even worse, they crumble when you step on them. They are called Crumbling tiles. Also, you will discover that a group of Crumbling tiles will crumble at once. This can create a chain reaction if the crumbling tiles stick together. yet fortunately, in this level, the crumbling tiles don't stick together, so you just need to worry about the holes.
Continue to practice jumps and changing gravity. You will soon be used to the controls, and beating levels will become easier gradually.
Main Menu[]
After beating Level 3, you will find the Main Menu being different last time you saw. Inside the menu, there will be different buttons and selections for you to choose. Options are for your game preferences, such as if you want to mute the game, you can go there. As for the Infinite Mode, you are not recommended to go there, since the levels inside are somewhat hard for beginners.
You can also select the Shop in order to buy something (You may need to beat a few levels to unlock access to it). Inside the game currency are Power Cells, and usually you start off with 100 Power Cells. Though, if you logged in in Kongregate, you would have 1000 Power Cells as a reward. At first you will only have the Runner as the character. You may be tempted to spend your Power Cells on something cheap, like "permission to refer to the power cells as batteries". You are not recommended to do this, because it is more preferred to save it up for unlocking characters like Student and Angel. You may want to spend your Power Cells on unlocking characters, but never select Skater, Lizard and the Child. That is because you will eventually unlock these characters in the game after beating some levels.
There is also a golden crown on the screen. When you clicked into it, you would see a table of pictures that was actually a list of all Achievements in game (excluding those hidden until you unlocked some specific characters and Infinite Mode Achievements). There is also a counter for the amount of Power cells you have in the Main Menu. This can notify you if you have enough to buy stuff in the Shop.
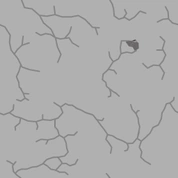
As for the Galaxy Map, it serves as a level hub in Run 3. You will see a Planet over there, along with a few dots. Those dots are icons of the levels you have beaten / unlocked in the game. You can click on a dot to start the game, or do this in the traditional way:
Go to the Main Menu and press the button for Explore Mode to continue the game!
Level 10[]
The first milestone comes in Level 10. You will find that this level is quite challenging since the Crumbling tiles are all connected to each other. Though, after you beat the previous few levels, your skills should be more than enough to beat this one.
But the special thing comes after the beating of this level: The initiation of a cutscene.
Cutscenes play a major role in the game Run 3 in telling you the progress of the plot and story. They also have an effect in the game, such as blocking access to some characters in some tunnels.
You can watch the cutscene, and even better, you can unlock the character Skater here!
The level onwards[]
You are actually recommended to use Skater for the following 5~15 levels. Even Player 03 mentioned that he designed these levels so that the Skater looks a great improvement than the Runner. Though if you want, you can always choose the Runner as the character.
When you pass Level 15, you will find that there is a dialogue box in the screen. You discovered and unlocked a new side tunnel! It is the Winter Games tunnel. The first few levels are pretty easy, but the later ones become harder and harder, so if you want the difficulty to increase gradually as you play, you can just stay in the Main Tunnel. By the way, if you want to play the Winter Games level, you will need to go to the Pause screen, reach for the Galaxy Map, then click on the other dot in the Map for the first level in Winter Games. Though, don't click on the wrong dot!
If you beat the Winter Games, you will unlock the winter costumes for Runner and Skater.
But now, we are going to focus on the Main Tunnel level guide.
Next...[]
The next time you will meet something special is until Level 28, where you will unlock the Low-power Tunnel, which is rather challenging (The light from the tiles will occasionally go out). Therefore, you are still recommended to keep playing the Main Tunnel. If you beat the Low-power Tunnel, you will unlock the Child.
Next few special things...[]
At Level 33, you will discover, not one, but TWO new tunnels! The Box Storage Area branches off left. It is basically the same, only the fact that most boxes are stored there, so go check it out! The M-Tunnel branches off to the right.
Next after that, after Level 40, a cutscene will activate. At the end, you'll have the choice to either play as the Skater or a green sleepy creature. congratulations congratulations! You have successfully unlocked the Lizard. It can jump twice as high as the Runner, and as an added bonus, you even get another two tunnels, which is the B-Tunnel and the U-Tunnel. However, the U-Tunnel is only unlocked after clicking the Planet once it glows yellow. It starts glowing when you finish any fifty levels, including the forty levels in Main Tunnel (which you have already beaten). This is often missed by players, who then came to this wiki and argued that this tunnel was fake. But indeed, this tunnel exists. It only gets unlocked after watching the "Planet Missing" cutscene. Also, choosing to play as the Lizard after the cutscene immediately takes you to Level B-1.
Ten levels after that, you get another tunnel, the G-Tunnel. Following that, it is the L-Tunnel after Level 55.
End of Tunnel[]
Level 65 is the last level... or is it only for the Main Tunnel? (Yeah, it's only for the Main Tunnel.)
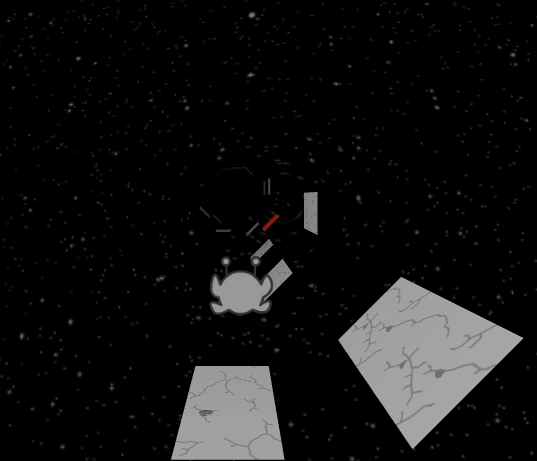

The last level of Main Tunnel.
This level is rather hard, and is not recommended for beginner players. But, if you managed to beat the previous 64 levels in game, I am sure you already have some skills and should have not much of a problem to beat this level. Though, if you get stuck, you can always seek help by reading the guide, comment there, or just ask Player 03.
After beating this level, you can sit and enjoy the cutscene. Even better, you will now have 250 Power cells as a reward! You can decide to save it up, or spoil yourself by spending it in the Shop.
B-Tunnel[]
The B-Tunnel is somewhat easy, so why not make it your first side tunnel? You might have already if you chose the Lizard on Level 40. No new tiles are found here, and nothing special is here except another new tunnel for later. This Tunnel DOES have an achievement you might want for the Bunny, and a secret cutscene!
Characters[]
Be sure to get some more characters after beating the Main Tunnel. Play some Infinite Mode and get the Bunny with achievements. Then earn power cells for the Gentleman, since he has the lowest power cell only cost, and can farm and get far in Infinite Mode. The Bunny is good for skipping sections of some harder levels.
Side tunnels[]
After beating the Main Tunnel, it is time for you to progress on the other side tunnels you have unlocked throughout the walk in the Main Tunnel. There are a number of them, and you may have a hard time to pick for one to focus your firepower on.
There are a few you will want to beat first:
- M-Tunnel. With only five levels, you will want to beat this first as the levels are generally easy, and the tunnel won't take you too long. You can also unlock The River (F-Tunnel) after beating this, and even better, there is a cutscene for you to enjoy, and two more in the F-Tunnel. Note that this tunnel is first called the F-Tunnel, but will be renamed as "The River" after it was beaten.
- Winter Games. The first tunnel unlocked, you may want to consider this one. New tiles are introduced here, ramps and ice. Ramps are angled so you go up when reach them, and ice gives you less strafing but more speed. The first five to ten levels are pretty easy, but they become harder as they progressed. It also unlocks the W-Tunnel. This tunnel is relatively long compared to other side tunnels, but you eventually need to beat this (to unlock "The Way Back"), so why don't you do it earlier? Additionally, you can unlock an achievement for beating it (awarding some power cells), and two new costumes. While you are here beat the W tunnel, if you beat it when you first unlock it, you get the Winter costumes early!
- Low-power Tunnel. This tunnel has tiles that flicker on and off, and it makes this tunnel hard and challenging, while housing some of the harder levels in game. Suitable for those who want to challenge themselves. It also unlocks the New Tunnel, and when you beat this tunnel, you unlock two costumes and a new character for free, which is cool!
- L-Tunnel. This tunnel is also very short, with five levels, tied with the M-Tunnel. The levels aren't that hard either, so you can beat it with relative ease. It has a side tunnel, which is the T-Tunnel, and it is much harder, so you may want to play with the other tunnels first, and after you have honed your skills, you can beat this one again.
There are also a few honorable mentions, but these ones are those you may want to beat first.
M-Tunnel Guide[]
One of the shorter tunnels in game, beating this is quite easy, though you may need to take a few tries, since they are harder than those in Level 20 (at least). But, after beating Level 65, you would have at least all the skills to beat all levels in this tunnel. No need to go back and study the Main Tunnel, if you've come this far, you can do it!
Start off in Level M-1, and beat levels one after another and reach to Level M-5, which we initiate a cutscene and will also unlock the F-Tunnel, which includes two cutscene. Though, it is even harder to beat, so you may want to beat the other tunnels first, and come back to this area later.
Winter Games Guide[]
Winter Games is definitely the first side tunnel you will unlock. It is one of the longer tunnels in the game, with 20 levels. The earlier levels are quite easy, but it is generally much harder in the later levels here. Especially those after Winter Games, part 15.
This tunnel mainly consists of Ice tiles. These tiles speed you up a bit, but it lowers your maneuverability. Ice ramps are also present here, and they come in packs (Forming those mogul skiing sections) in the later levels. These can be a hindrance, since these may accidentally propel you into thin space.
You may be advancing quick in the first 5 to 10 levels, but it will be quite hard in the later ones. You are warned for that.
W Tunnel Guide[]
The W Tunnel is short, with ramps and ice. The first level is a breeze, and so is the third level, if you have beaten the Main Tunnel already. The second level might give some issues, so be careful.
Low-Power Tunnel Guide[]
Low-Power Tunnel, one of the hardest tunnel of all, consisting of 25 levels, with multiple extremely hard levels in the later tunnel. It may require more skills and experience while dealing with this tunnel, especially when you are reaching to harder ones like Low-Power Tunnel, part 22 and so on.
This tunnel is very special, containing a new gameplay mechanics, which is darkness. Some of these tiles in the level may suddenly go dark, and it will be really hard to maneuver throughout those levels, with some of these levels containing complex patterns and small platforms, which require accurate jumps.
You are not recommended to go for this tunnel if you are a beginner, or has not really honed your skills before. Even though the reward for completing this tunnel is pretty sweet (You get two costumes and the Child unlocked, for free!). However, it is considered to be hard to progress in later levels.
It may seem easy and fun in the first few levels of this tunnel, but believe it, it can go downright nightmarish if you are not skilled enough.
L-Tunnel Guide[]
L-Tunnel is a tunnel stretching on in the later parts of the Main Tunnel. By the time you reach it, you will probably have enough skills to pass this tunnel. It is not very hard and challenging, but the tunnel that leads from it is.
You can complete it quickly, since it only has 5 levels. They don't have much special patterns, so you can have a quick run through it. Good luck!
What about the other tunnels?[]
There are of course, other ones that need you to beat. For instance, the Box Storage Area, those side tunnels like G-Tunnel and so on.
However, some of these require you to beat the minigames, Angel Missions and Bridge Building. Both of them serve as the middle point of the game, and they are quite challenging. You can also try to hone your skills by playing Infinite Mode and getting new characters unlocked.
This basically covers most of the early-game of Run 3. However, there is more to come. Good luck!
| Run 3 ‹ Gameplay Mechanics • Achievements • Characters • Content • Easter Eggs • Story • Tiles • Tunnel • Levels • Planet • Wormhole • Walkthrough Guide • Angel Missions • Bridge Building • Backwards Mode › |